Display Setup Without Login
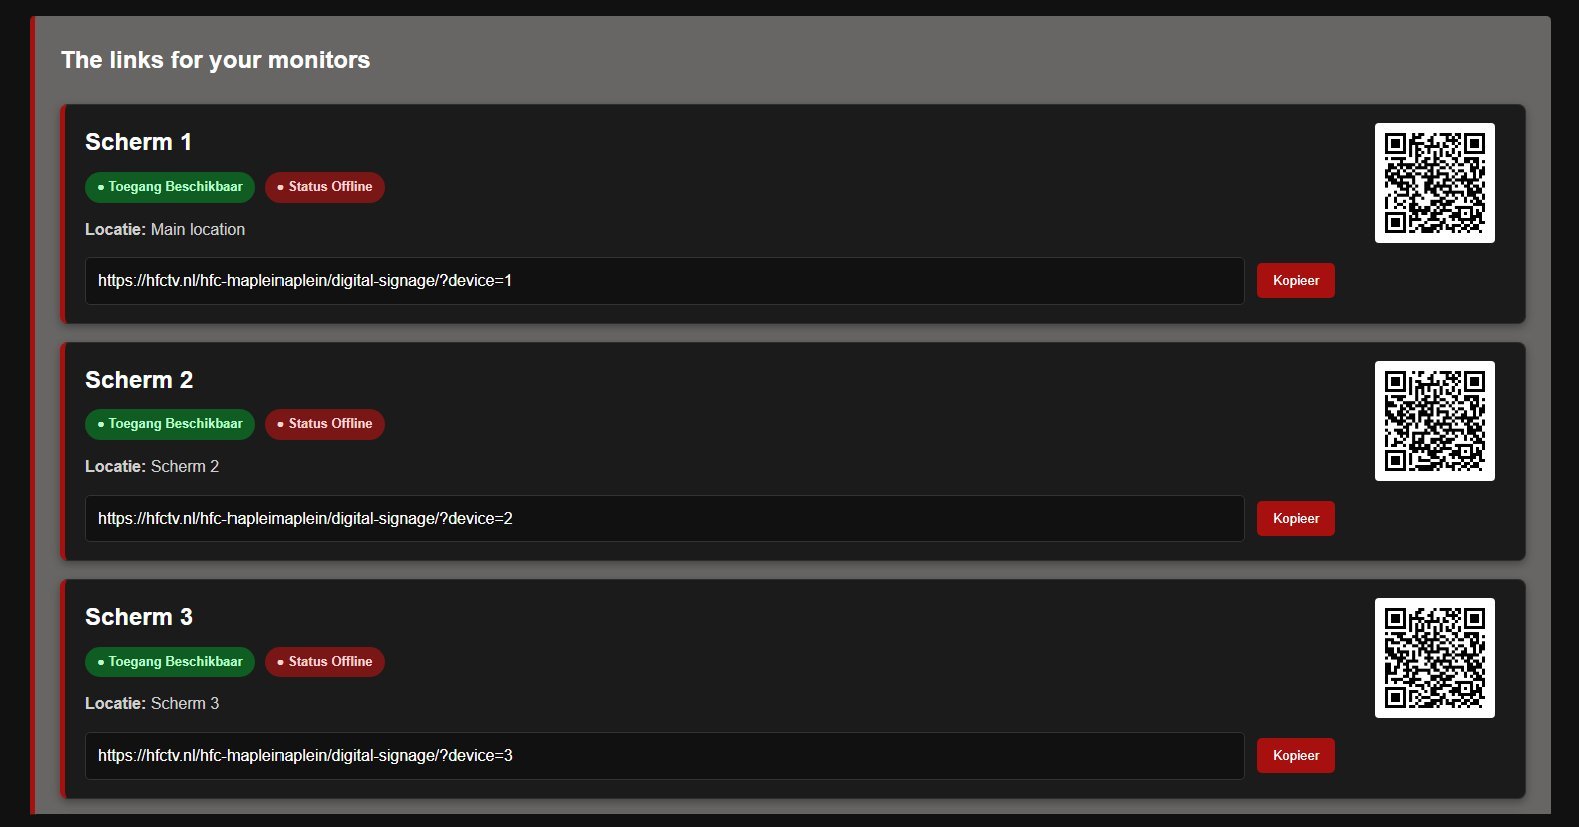
Each user account or branch has its own dedicated web page containing all the information required to configure your digital signage displays.
This page is publicly accessible, making it easy to set up your screens. Simply open your dedicated page on the desired display and select the appropriate link to start displaying your content.
Setting up and configuring your displays does not require a login. This allows you to delegate display setup to your staff without having to provide them with your account credentials.
Logging In
To manage or update the content displayed on your screens, you must be logged in to your account.
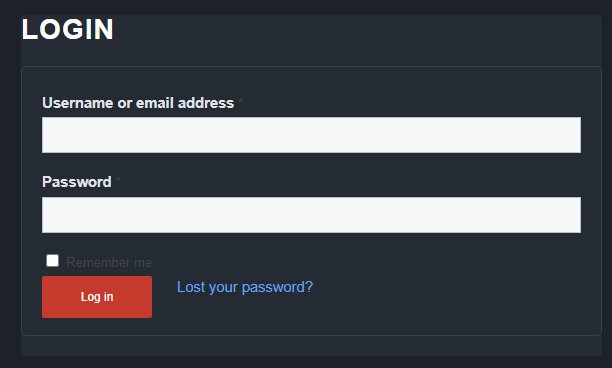
To log in, go to the My Account page or directly to hotsignage.com/login.
Enter the login credentials provided to you. If you have not received your login details or have forgotten your password, click “Lost your password” to receive a link to reset your password.
If you are still unable to log in, please contact the helpdesk for assistance.
Dashboard
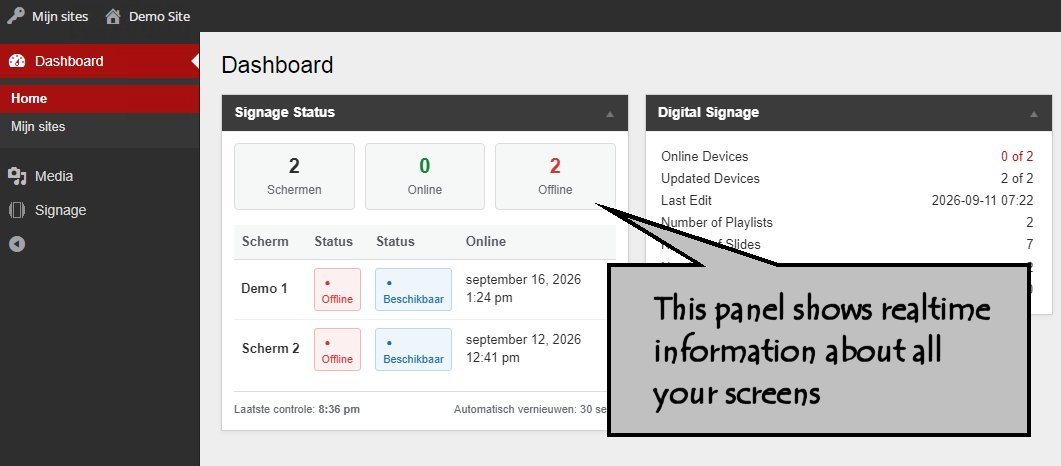
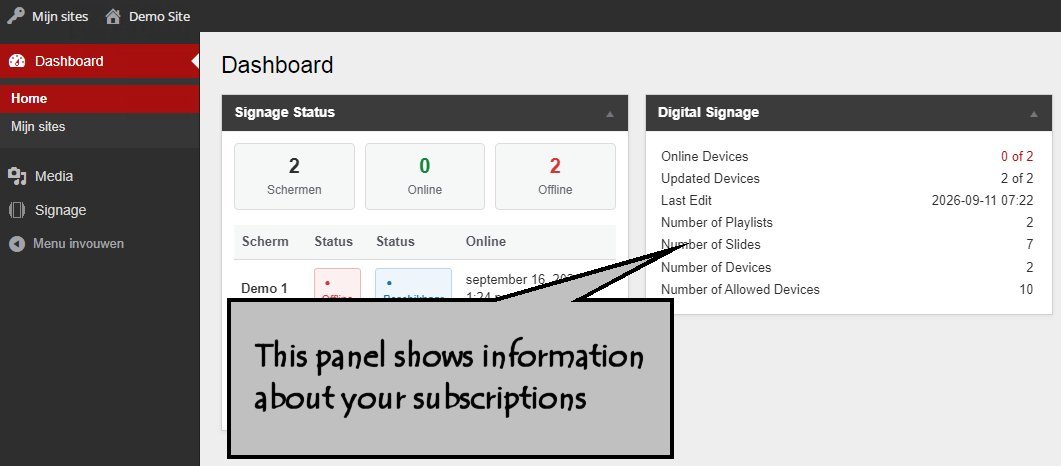
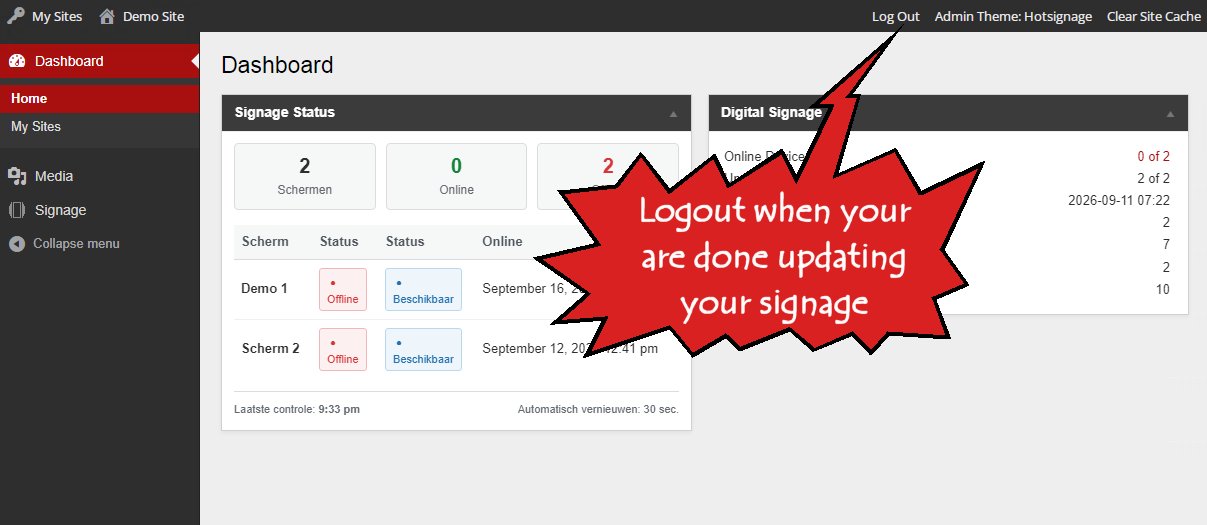
Once you are logged in, you will be taken to your Dashboard. Here you can find an overview of your subscription, maintenance and update notifications, as well as important personal messages.
The Dashboard also provides an overview of the current status of your digital signage displays.
Uploading Media
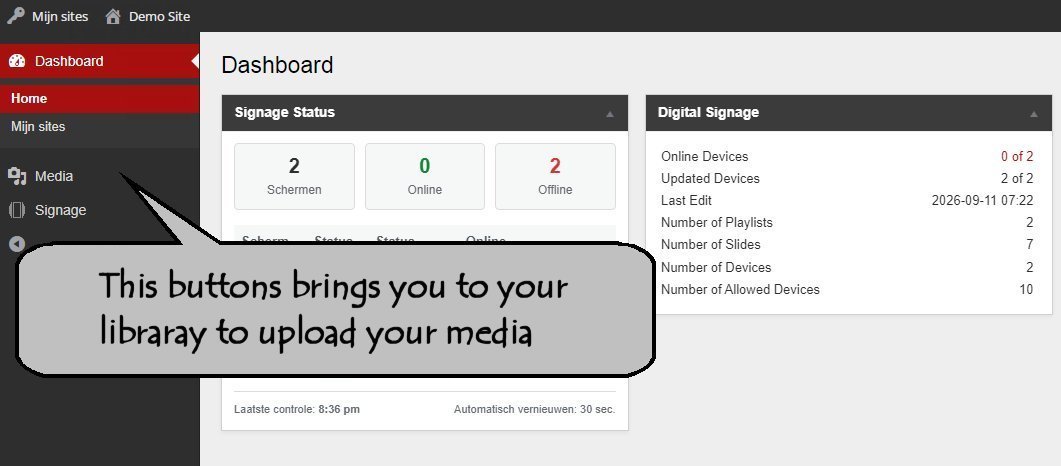
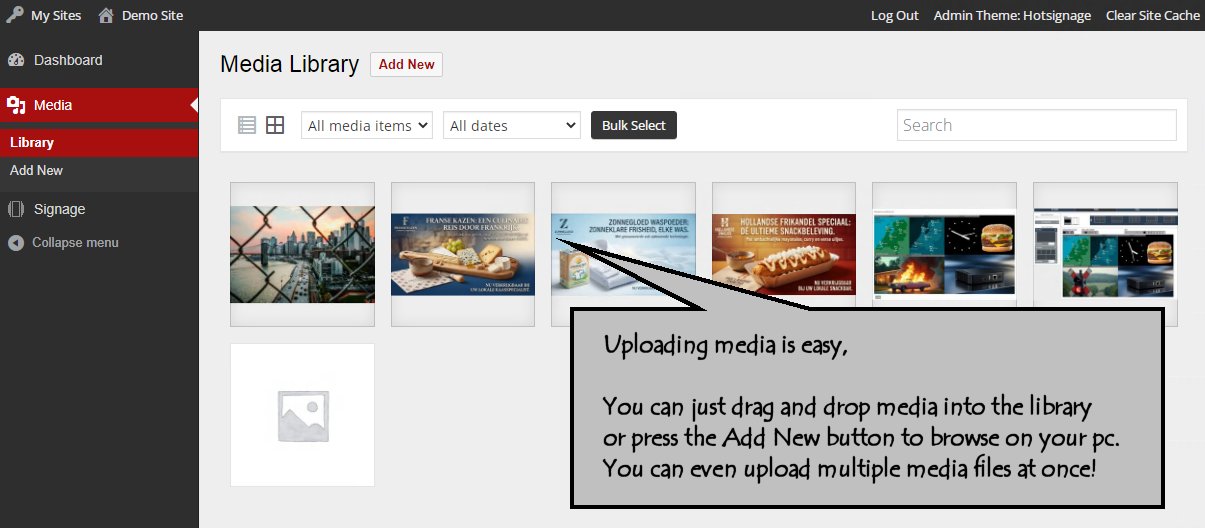
Uploading media is easy. You can upload images and videos to your Media Library by clicking “Add New”, or simply drag and drop your media directly into the Media Library.
The Media Library automatically prevents duplicate uploads and makes your uploaded content available for use in your slides.
Display Management Overview
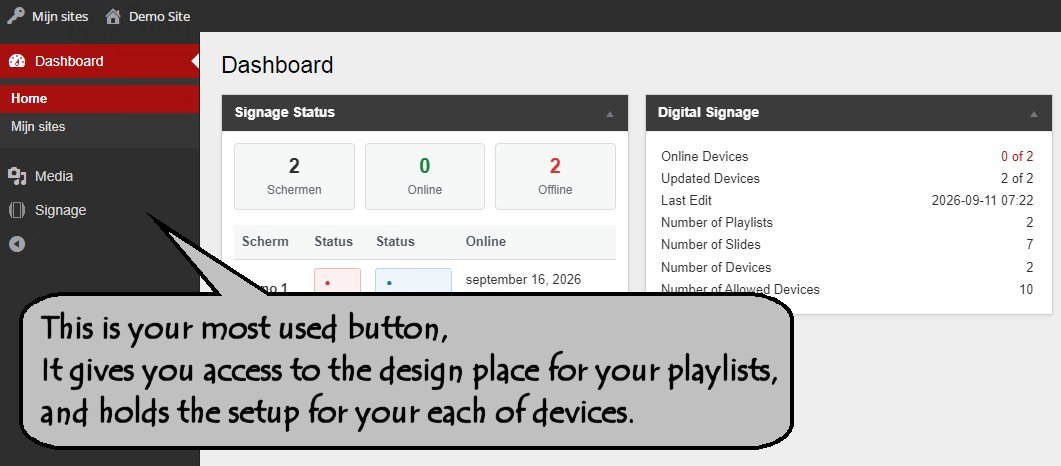
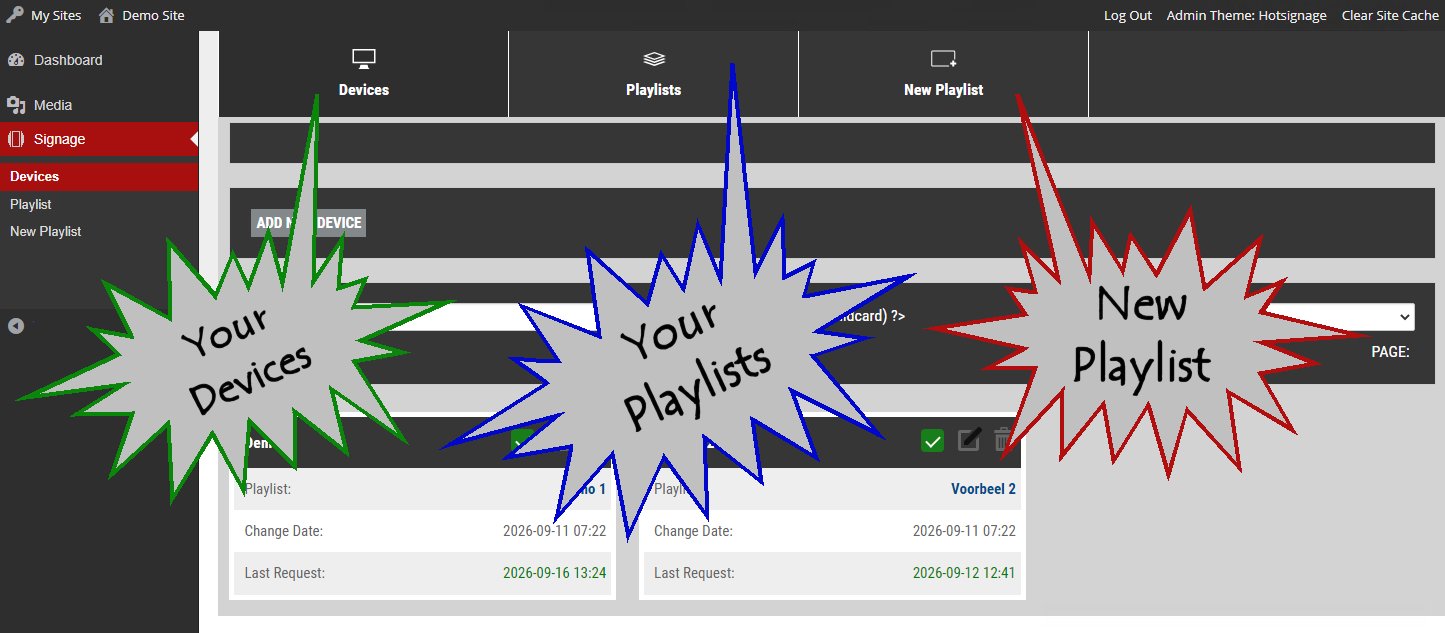
The main screen for managing your digital signage displays provides access to several key sections, including an overview of your displays, your existing playlists, and an option to create new playlists.
Managing Devices
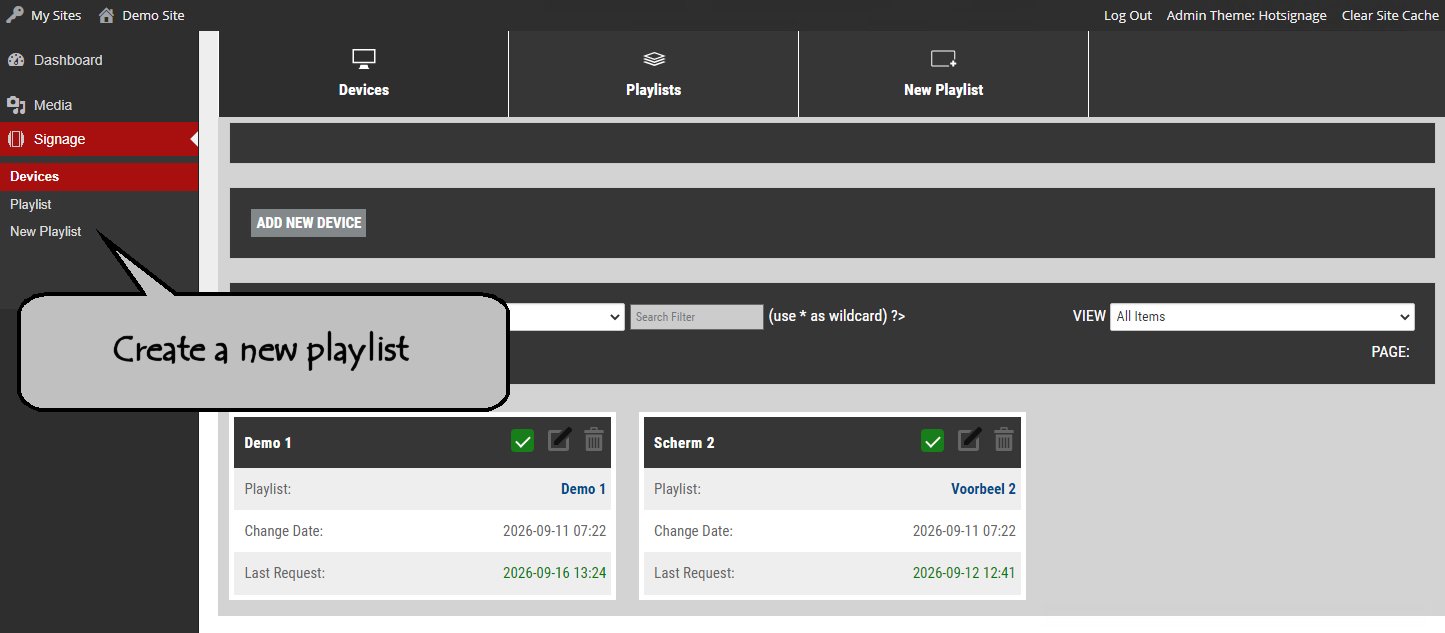
Before you can manage your devices, you must first create at least one playlist. Once a playlist is available, you can select and activate devices and assign playlists to them.
Creating Your First Playlist
Create your first playlist and feel free to experiment. Nothing is permanent — you can change everything later or simply start over.
You can create as many playlists as you need, with no limit.
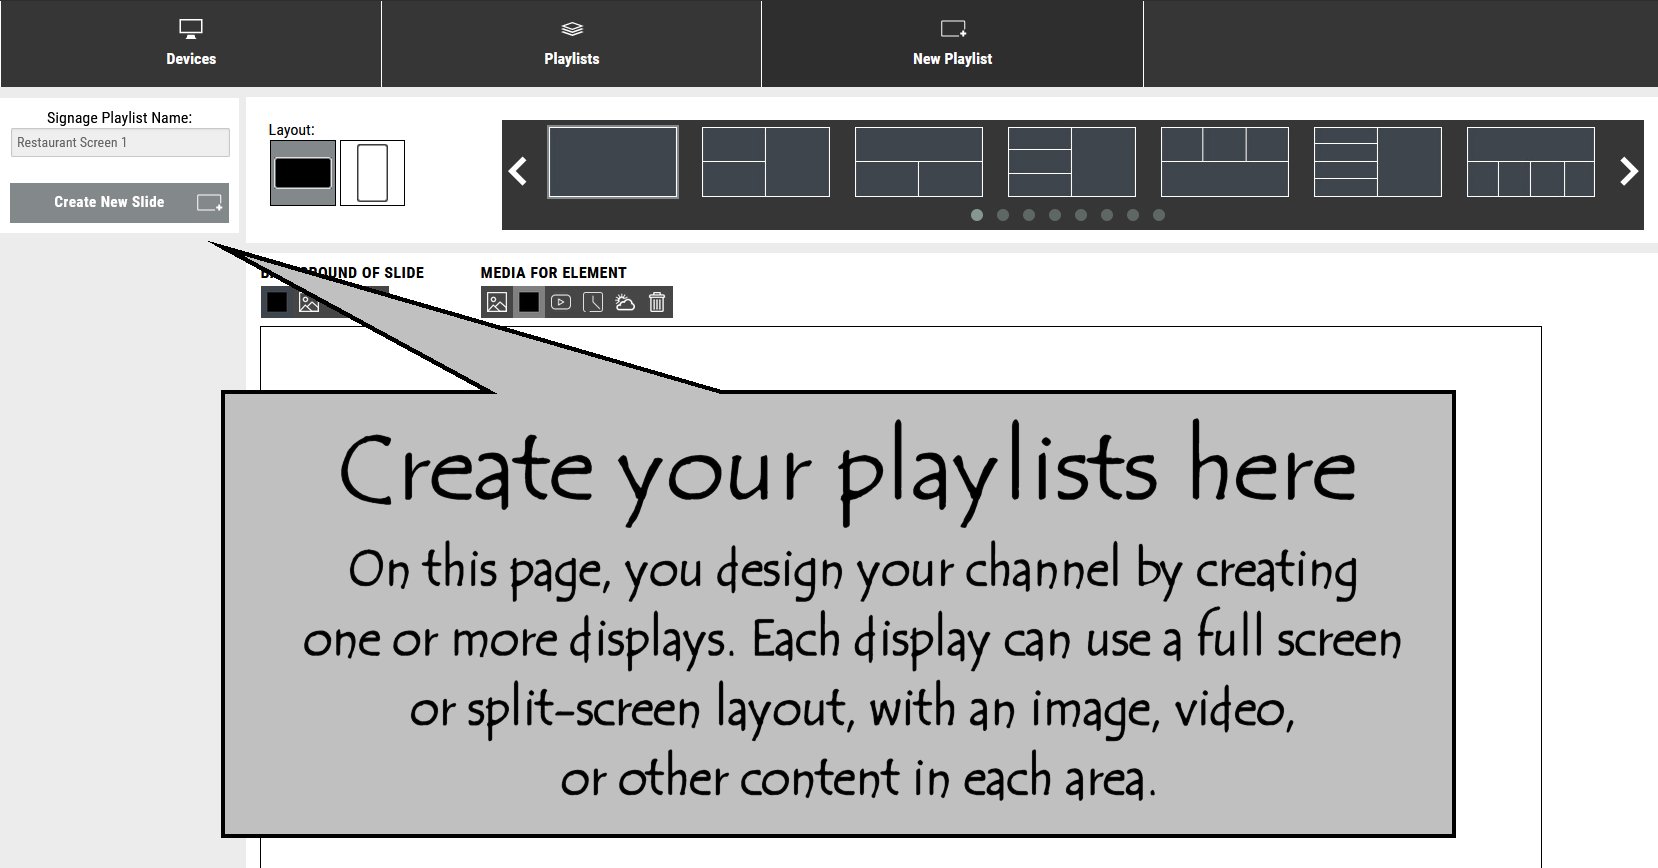
Creating a New Playlist
Start by creating a new, empty playlist. If you have already created one or more playlists, you can also use an existing playlist as a template for a new one.
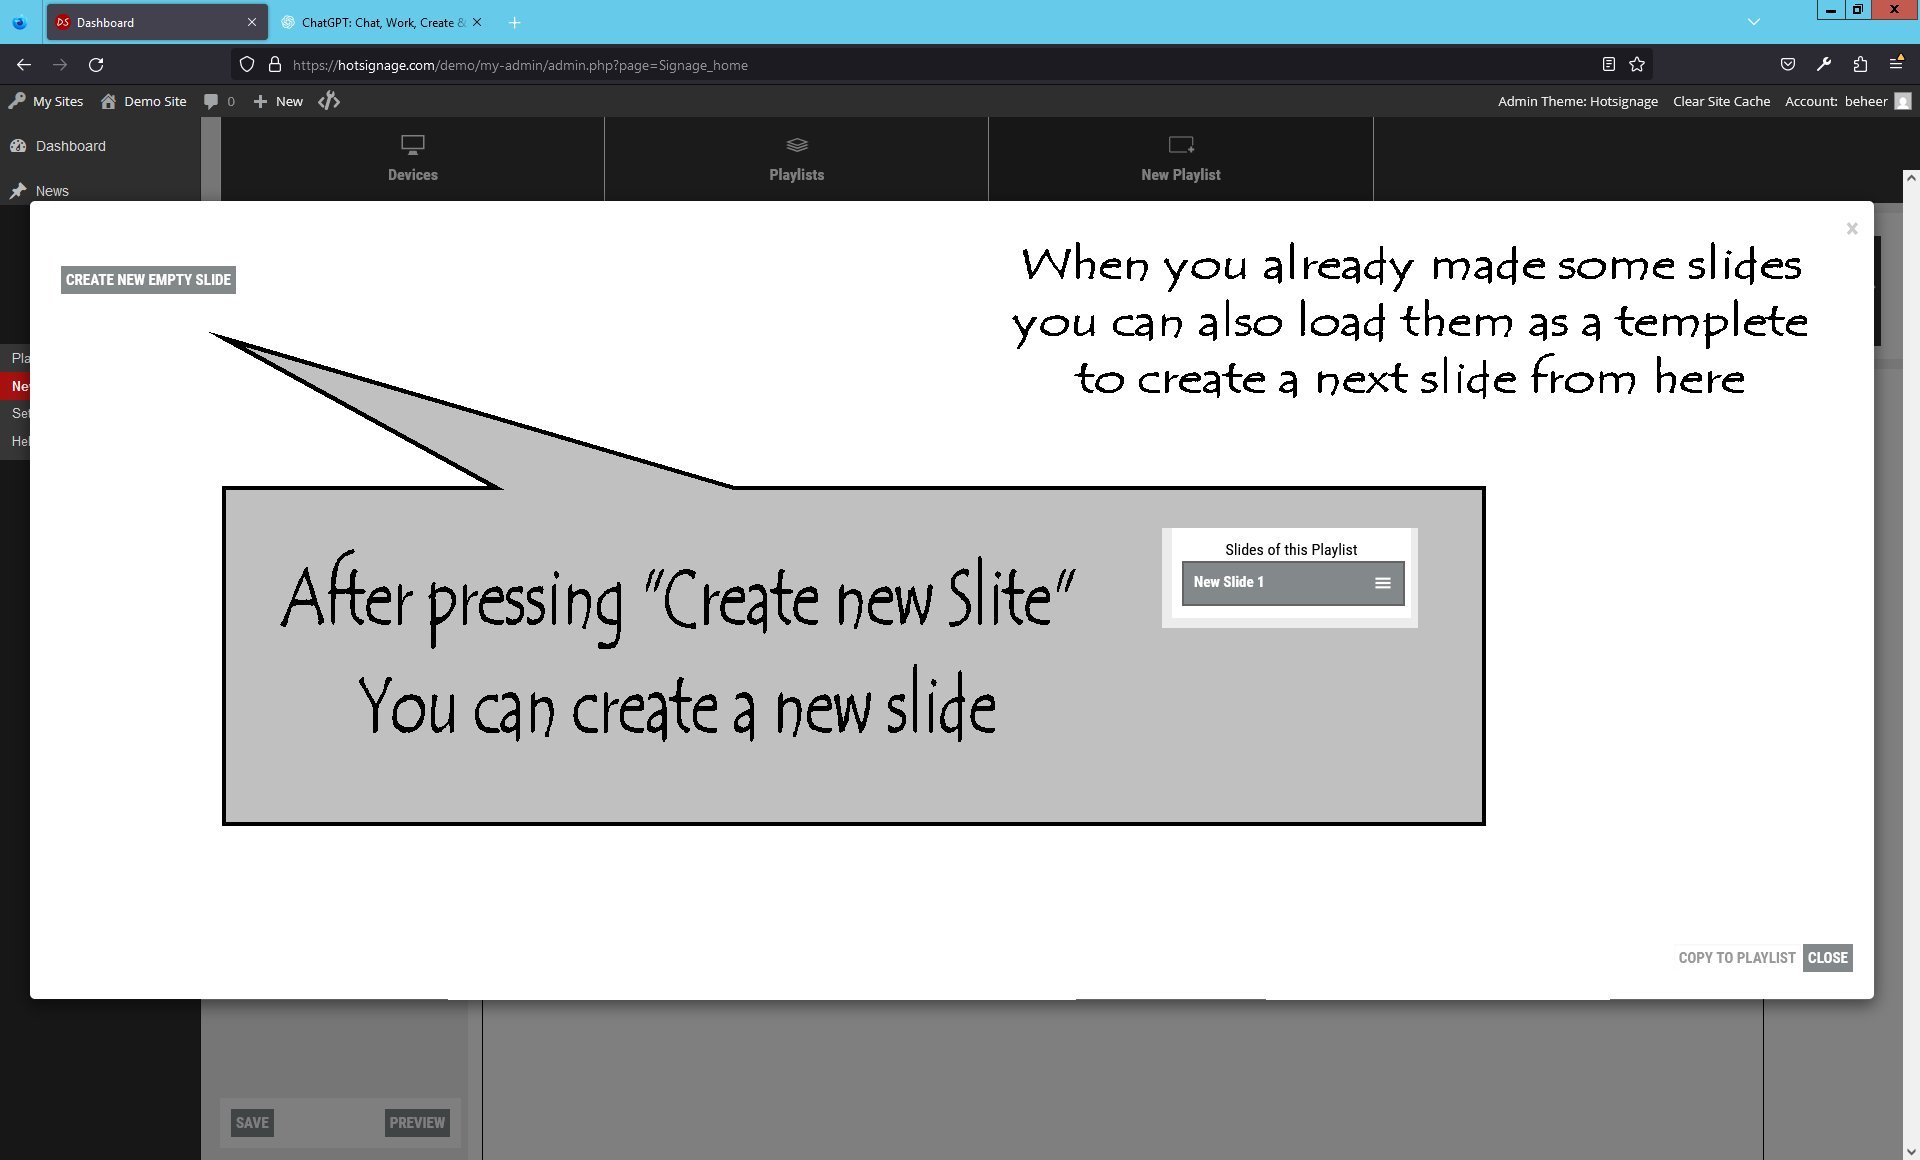
Designing Your First Slide
After creating your new slide, you will be taken to the slide editor, where you can design your content. Follow the steps below to create your first design in just a few clicks.
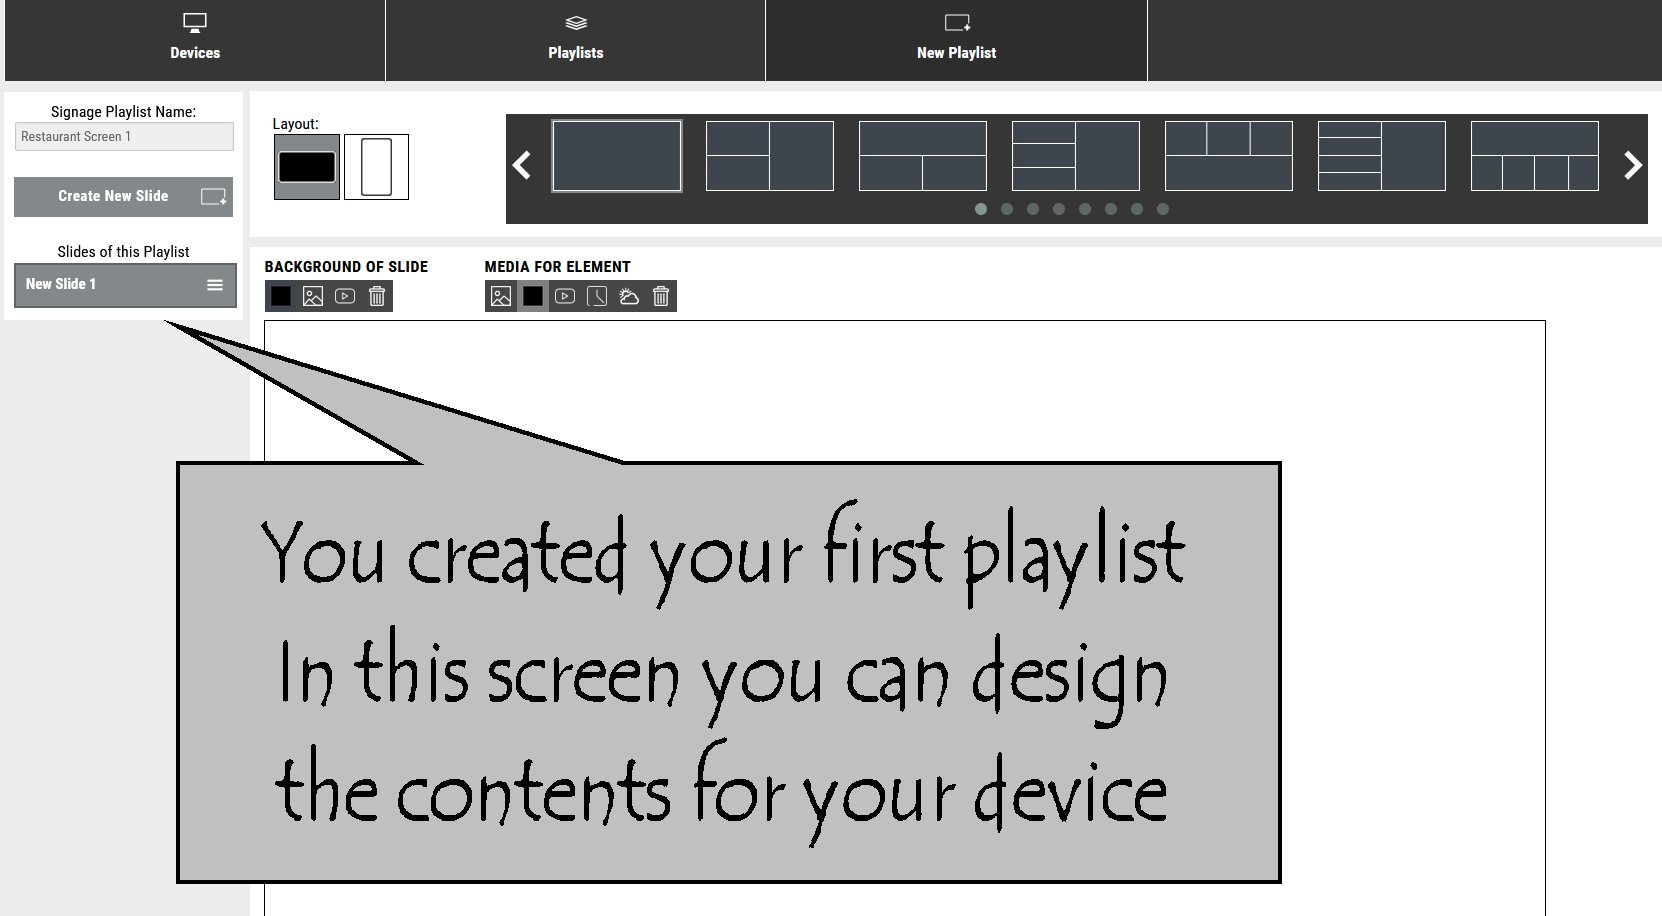
Choose a Layout
Start by selecting a base layout for your slide. You can choose from a wide range of predefined layouts with different area arrangements, or select a full-screen layout without any divisions.
Once you have selected a layout, you can fill each area with your desired content.
Adding Content to Your Layout
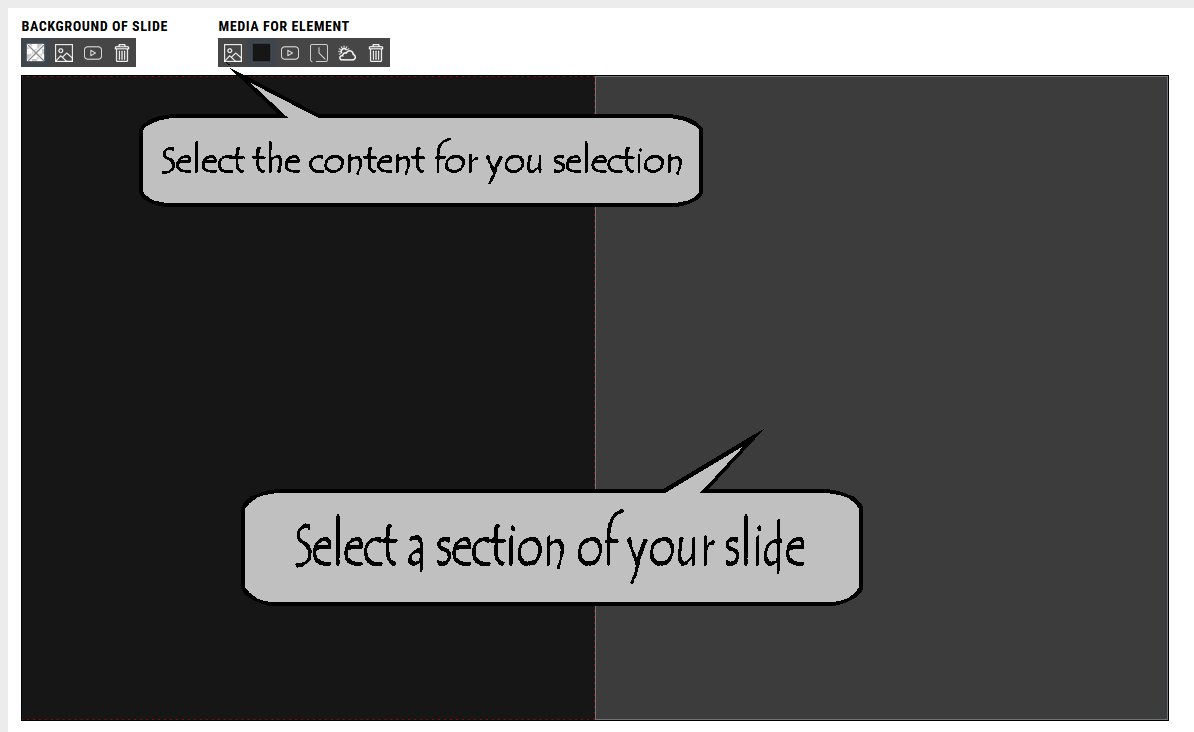
In this example, a two-column layout has been selected. As you can see, each area can be filled with an image, color, video, a selection of clocks, and other available content options.
When using images, make sure they have the same aspect ratio as the area you are placing them in. Images are automatically stretched to fill the entire area.
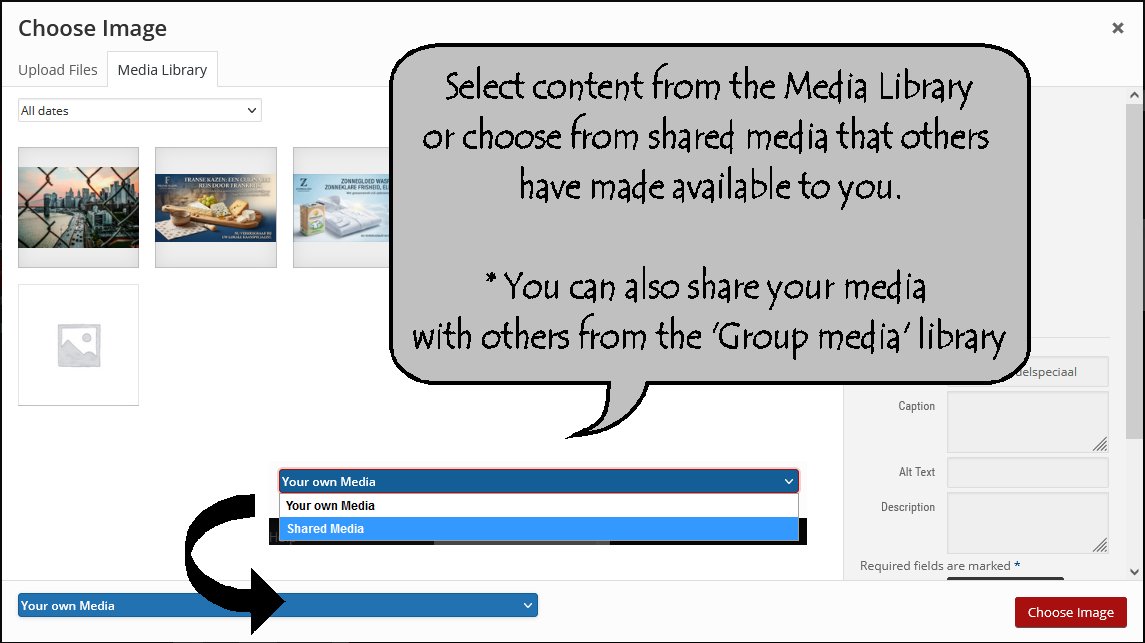
To add content to an area, first click the desired area and then select the content type you want to use. You can also use a solid background color or video as the background of an area.
Using Media Content
You can also display external videos, such as content from YouTube. Please note that external content may be subject to copyright or other usage restrictions. You are responsible for ensuring that you have the necessary rights to use and publicly display the content.
When using external services such as YouTube, their player may process information about the playback, device, or connection. Please ensure that your use of external content complies with applicable GDPR and privacy requirements.
Updating a Playlist
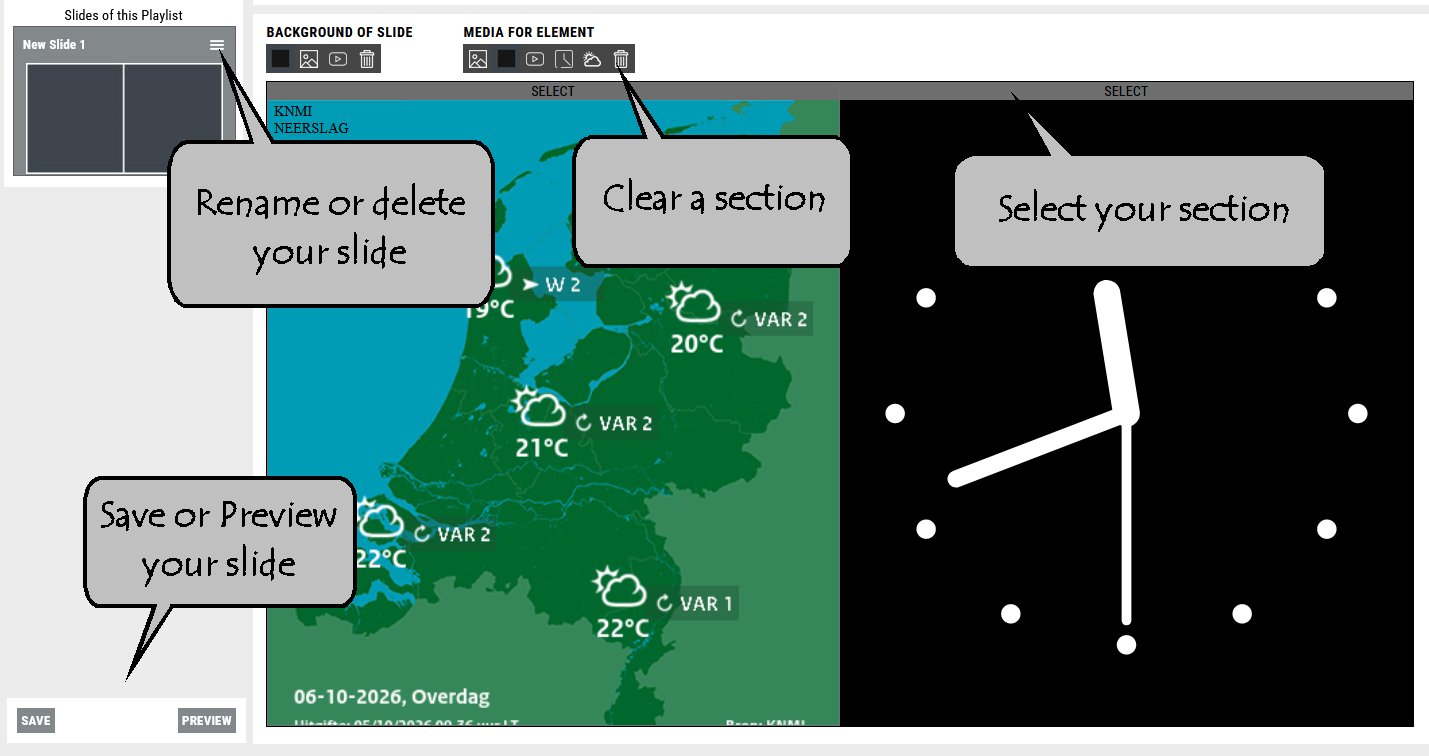
You can edit and update your playlists at any time. Content can be removed or replaced with different content. Once you save your changes, they will take effect automatically.
If you make changes to a playlist that is currently being displayed on a screen, the updates will appear on the screen within a few minutes.
Adding Slides to a Playlist
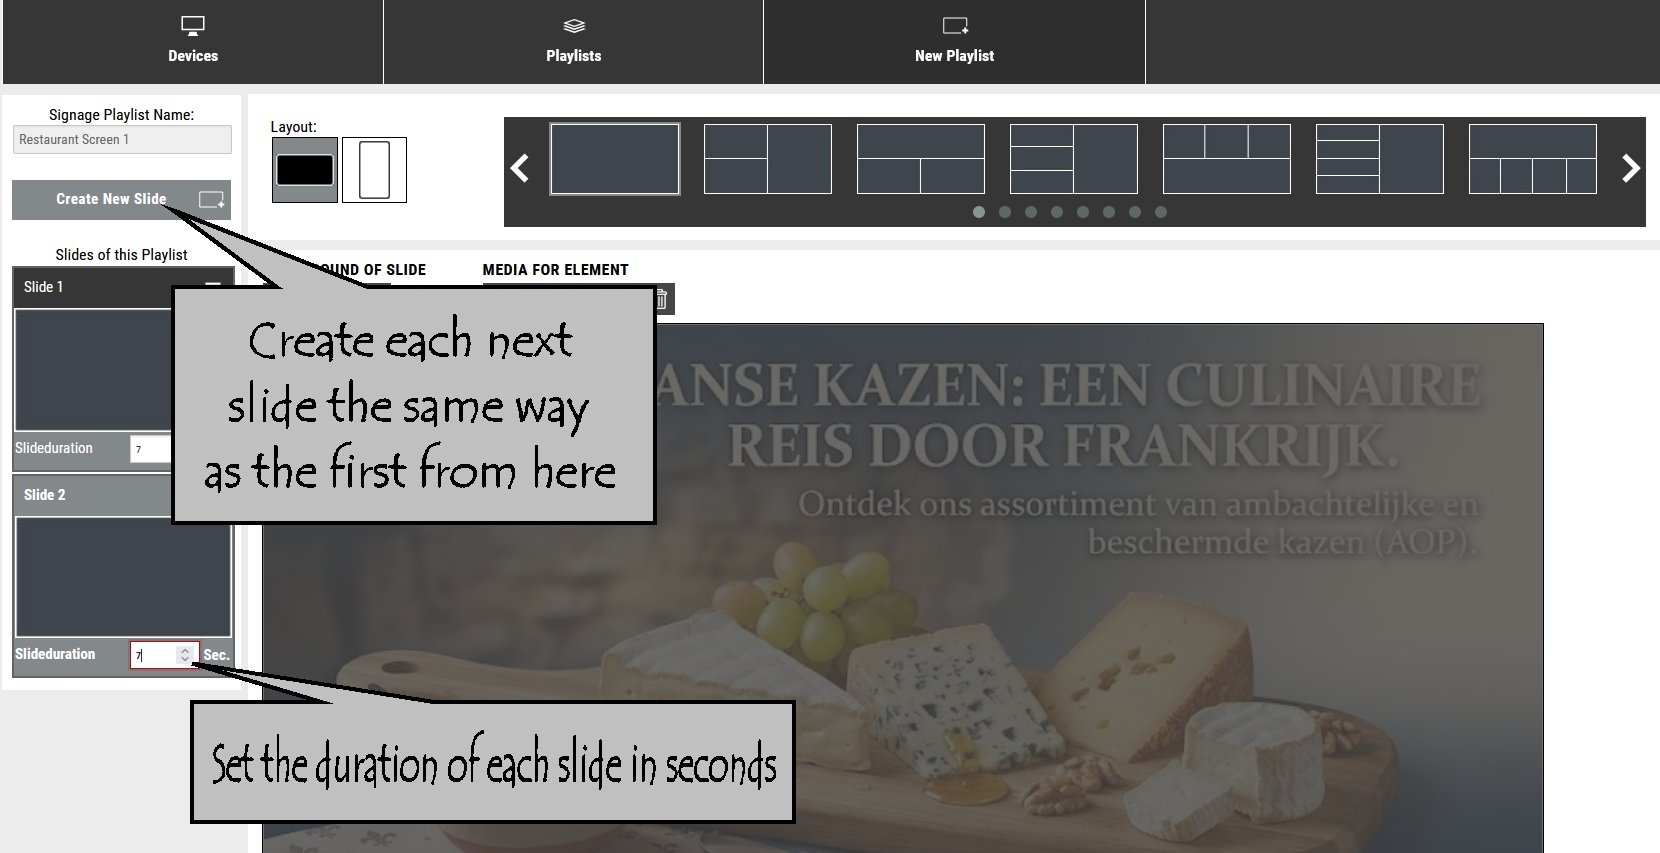
Once you have created your first slide, you can add a second slide and as many additional slides as you like. There is no limit to the number of slides you can add to a playlist.
When you add a second slide, a display duration becomes available for each slide. Use this setting to determine how many seconds each slide should be displayed before the next slide starts.
When using videos, make sure the display duration is long enough for the video to play. This prevents the video from being cut off or from restarting before the next slide begins. Use the Preview option to test your playlist and fine-tune the timing.
Scheduler
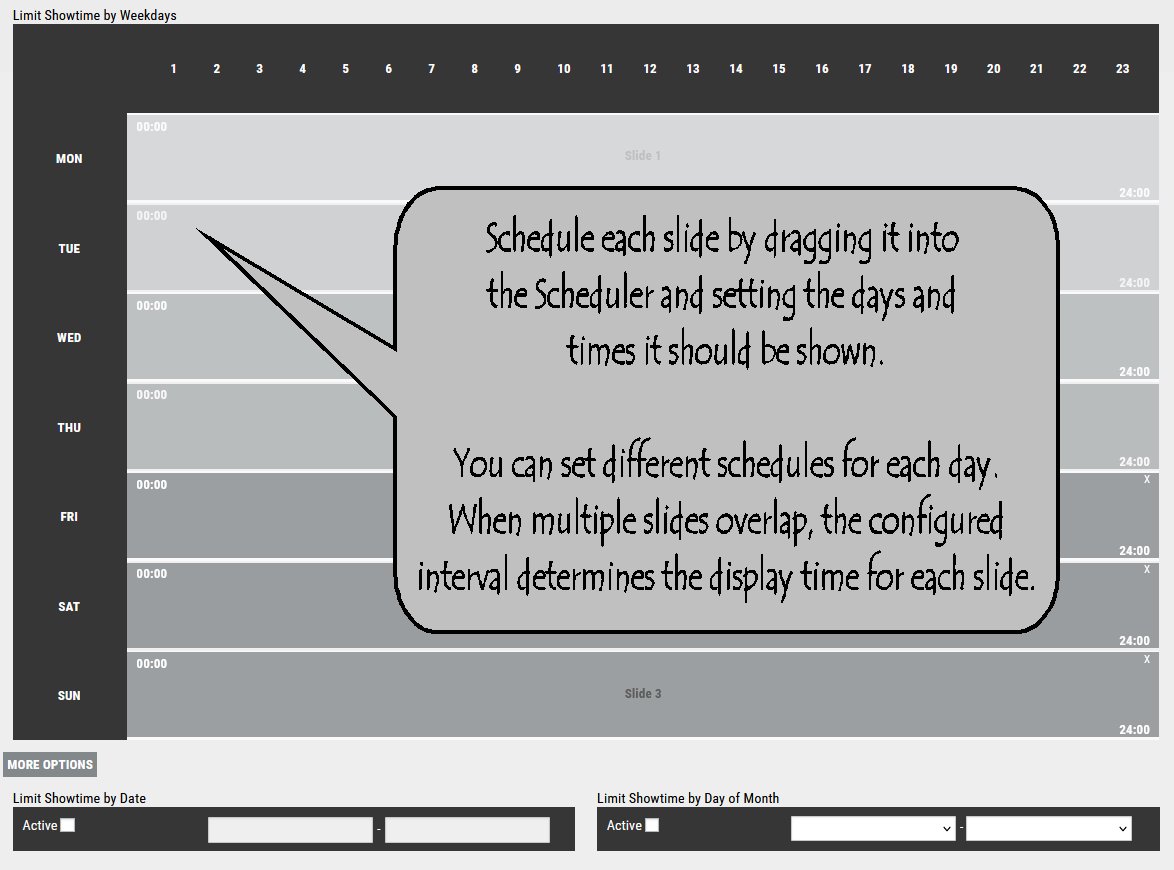
The Scheduler gives you full control over when your content is displayed. Assign slides to specific days and set the exact times during which they should be shown.
You can schedule each slide independently, allowing you to create flexible daily schedules. For example, you can show different content in the morning, afternoon, or evening, or schedule specific slides for selected days only.
This makes it easy to automate your digital signage and ensure the right content is displayed at the right time.
Save and Assign Your Playlist
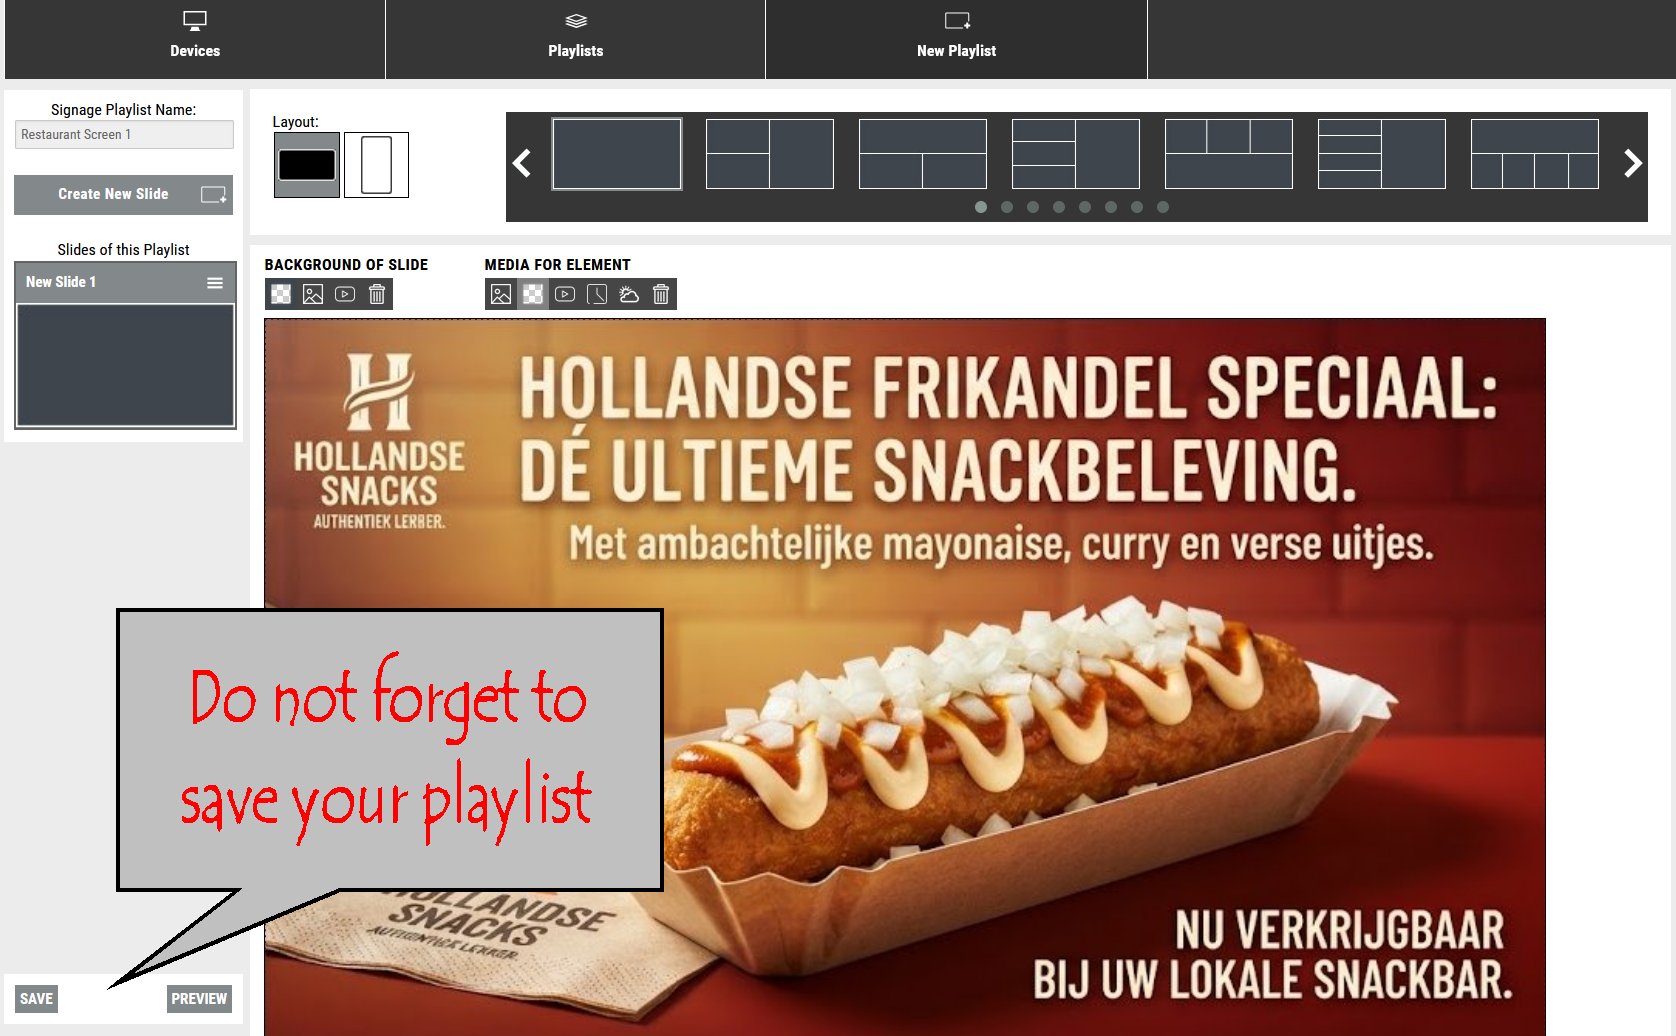
Don’t forget to save your playlist. Once it has been saved successfully, you can assign it to a display by going to Devices and selecting the playlist for the desired screen.
Managing Devices
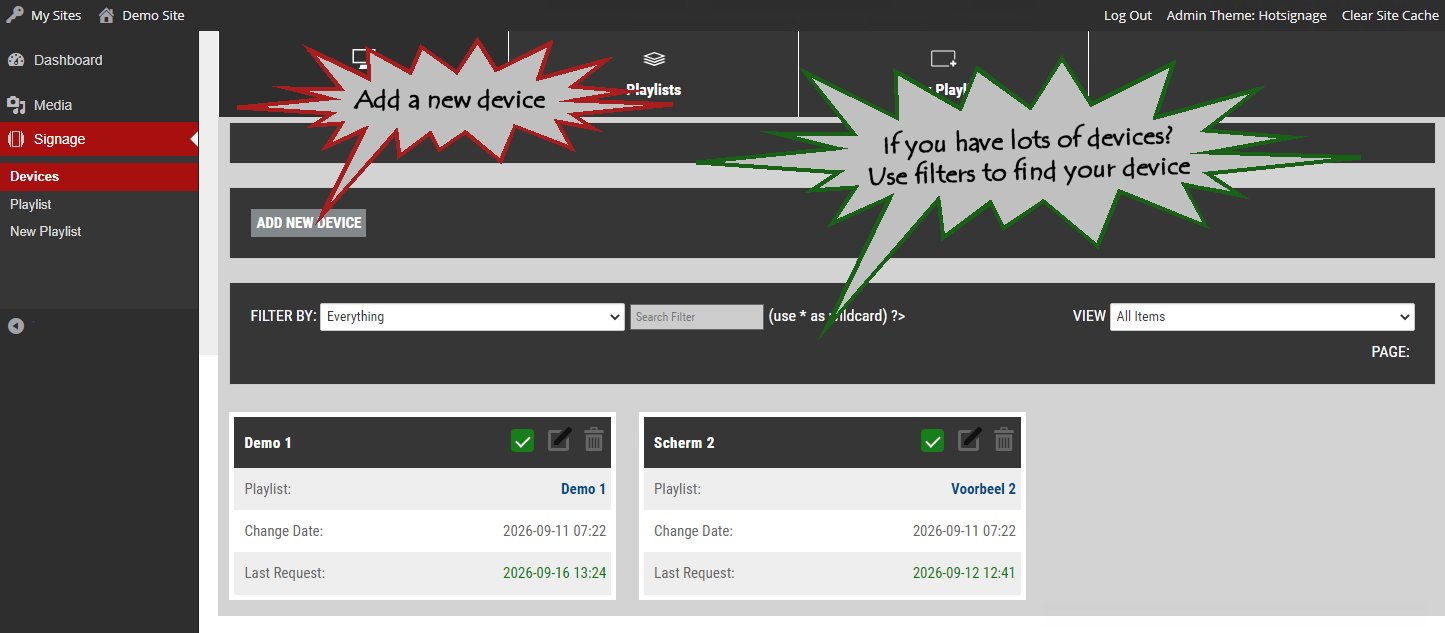
On this page, you can add and manage your devices (displays). You can add as many displays as your subscription allows.
Once you have created your first playlist, you can configure your devices. All available devices are listed on this page, and you can use the available filters to quickly find the device you are looking for.
Adding More Devices
If you purchase additional devices through the online store, your available device capacity will be increased automatically after payment.
You can then add the new devices on this page and start using them immediately.
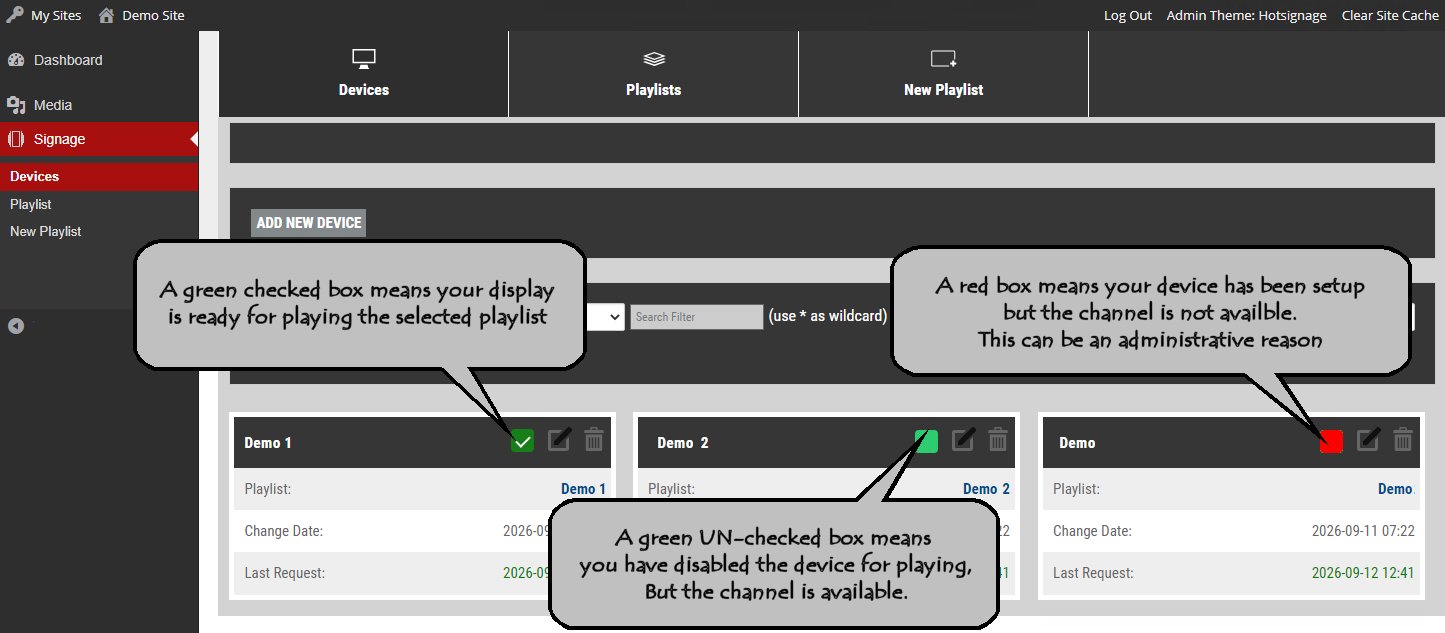
Device Status Indicators
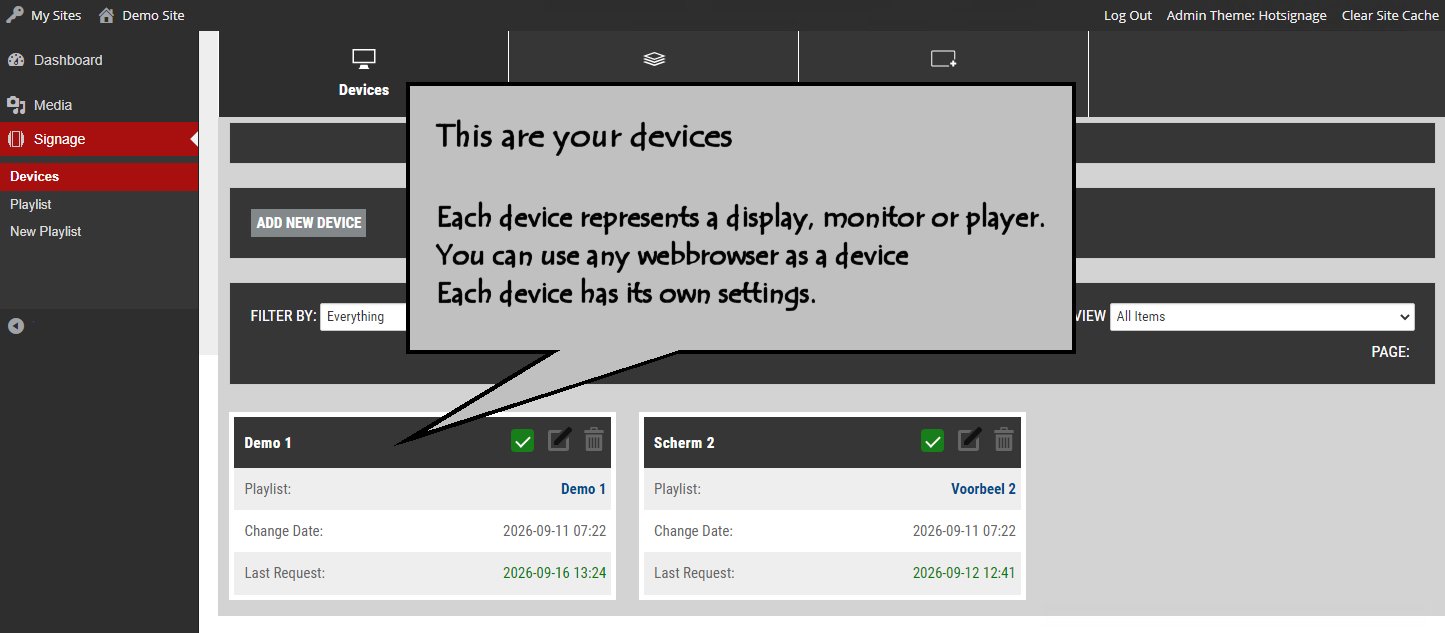
Each device has a small checkbox that indicates its current status:
Green, not selected: The device is available but not currently active.
Green, selected: The device has been activated and its display is active.
Red: The device is unavailable due to a technical issue or an administrative reason.
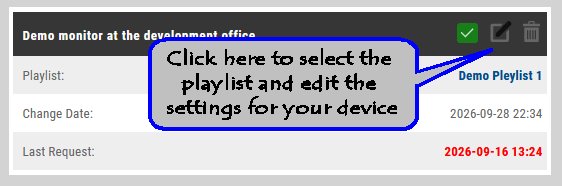
Device Settings
Click here to manage the settings for each device and assign a playlist to the selected device.
Managing Devices
On this page, you can add and manage your devices (displays). You can add as many displays as your subscription allows.
Once you have created your first playlist, you can configure your devices. All available devices are listed on this page, and you can use the available filters to quickly find the device you are looking for.
Device URL
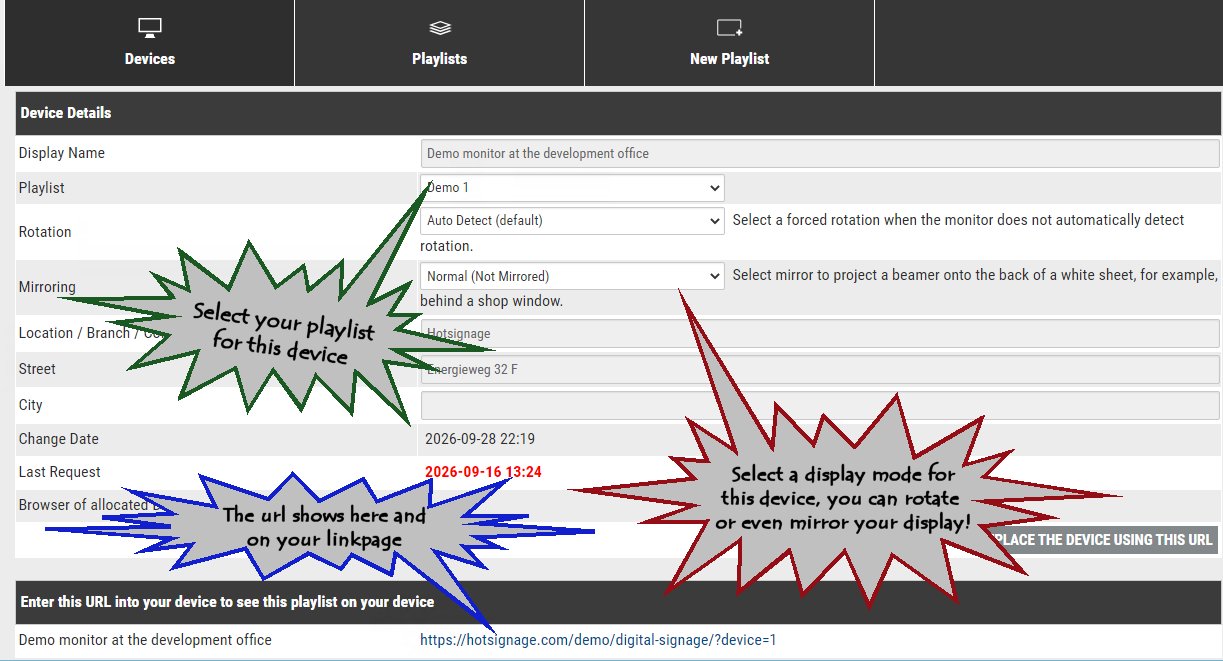
Here you can view the URL assigned to this device. This URL is also displayed on your Links page and can be used to connect the device to your signage channel.

Playlist Selection
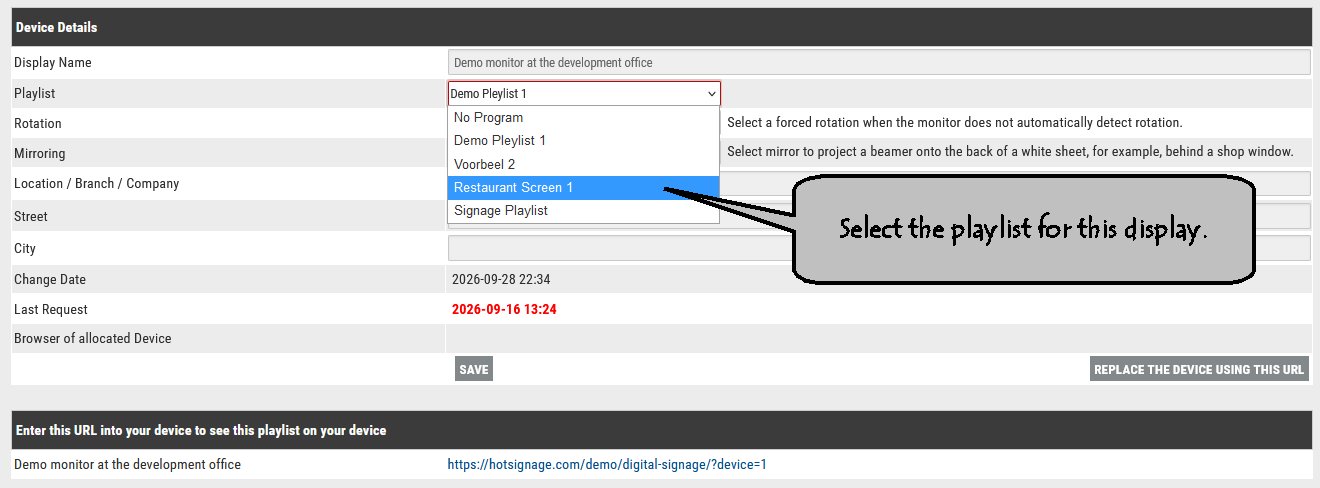
Select the playlist you want to display on this device. You can select any of your available playlists, including a playlist that is already assigned to another device. There are no restrictions on reusing playlists across multiple devices.
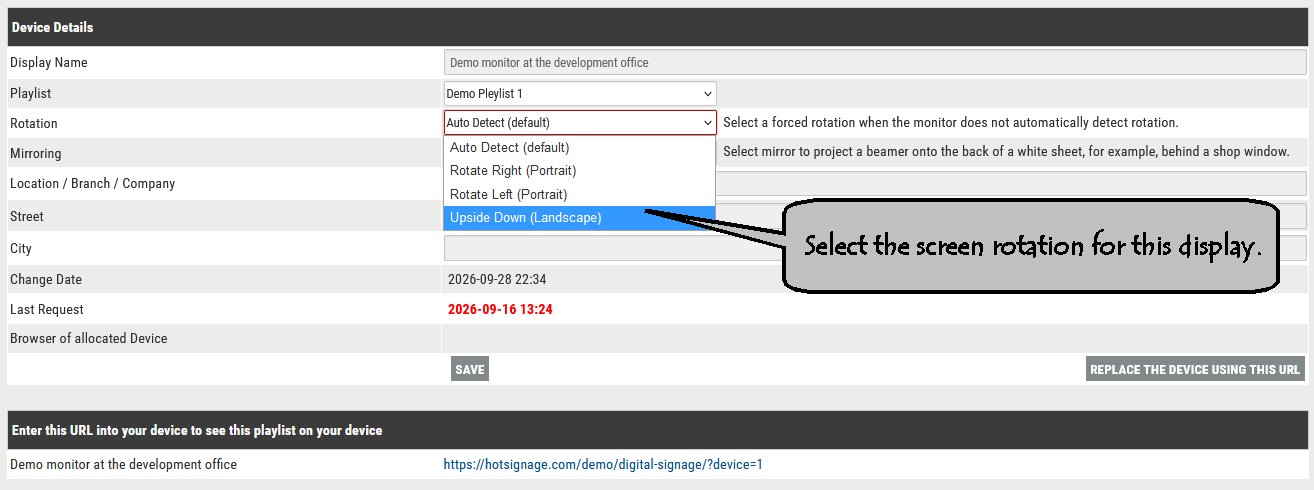
Display Rotation
Use the Rotation setting to change the orientation of the display. This is useful when a screen is mounted upside down or when you want to switch between landscape and portrait orientation.
For example, you can rotate a landscape display to portrait mode, or rotate the image 180° for a screen that has been mounted upside down.
Please keep in mind that rotating the display may cause content to appear stretched or distorted if the original content was not designed for the selected orientation. For the best results, create your content with the intended screen orientation in mind.
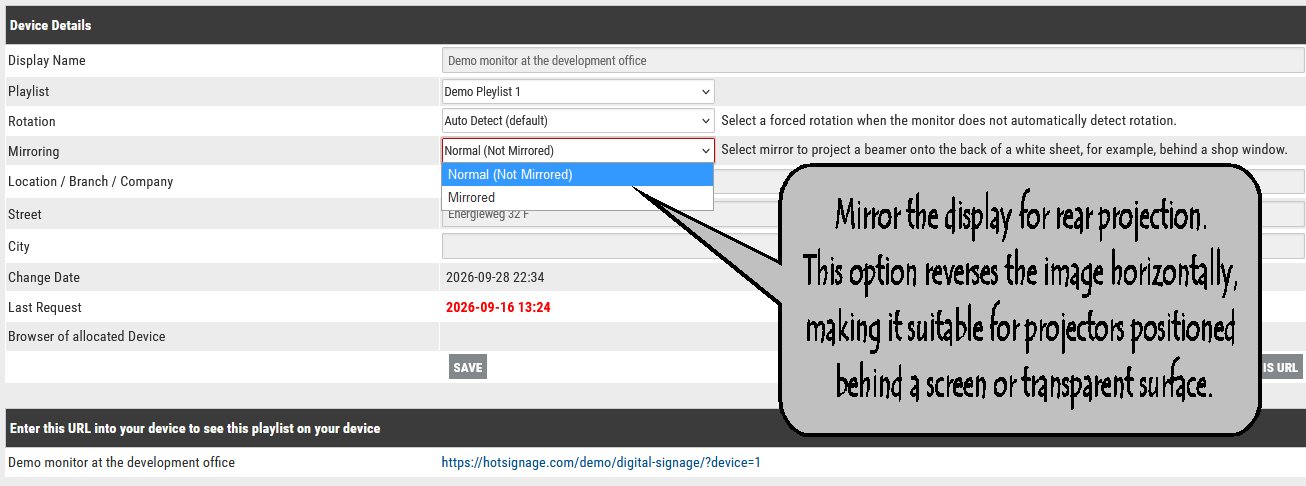
Mirror Display for Rear Projection
Enable Mirror Display when the image is projected onto the back of a screen or a translucent surface.
For example, when a projector is positioned behind a white projection screen, the image needs to be mirrored horizontally so that text and other content appear correctly when viewed from the front.
Enable this option when using rear projection. For a regular projector positioned in front of the screen, this option should remain disabled.
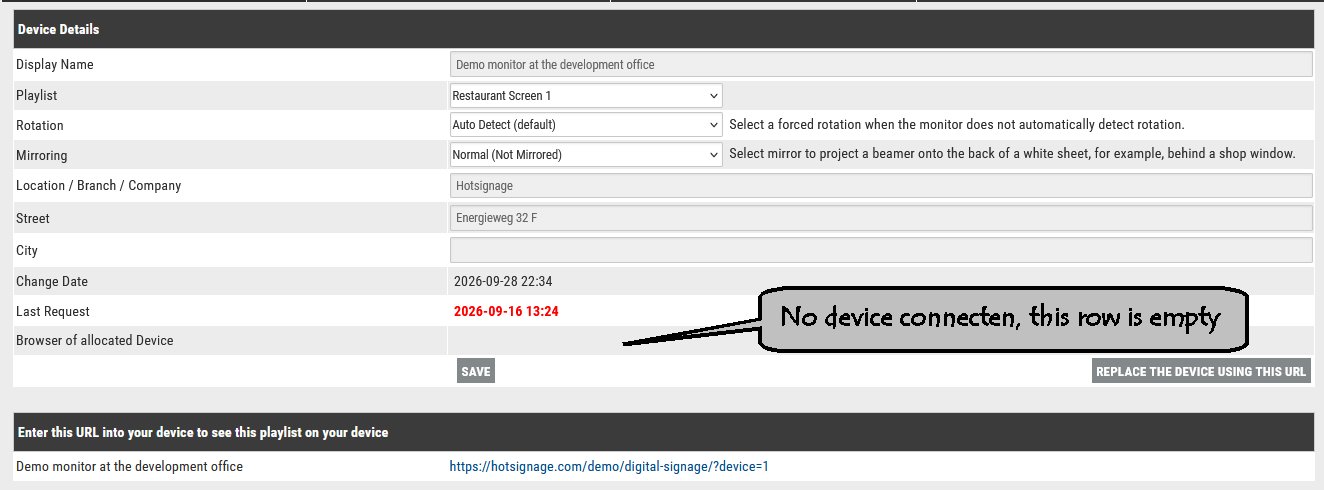
Device Status and Connection
Here you can see when the device was last updated and when it last communicated with the server.
If a device loses its internet connection, the last playlist received by the device will continue to play until the connection is restored.
In this example, no display is currently connected to the server.
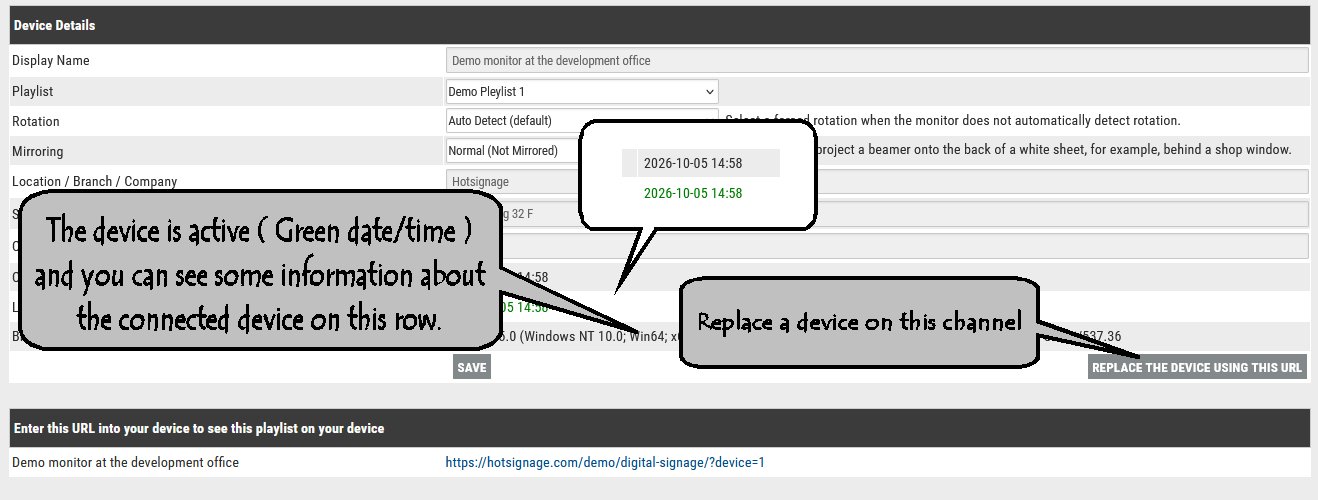
Release a Device
Once a device has been registered, no other device can be assigned to the same channel. To release the channel and assign it to a different device, click this button.
The channel will be released, allowing you to use the URL again to connect and assign it to another display.
Navigation
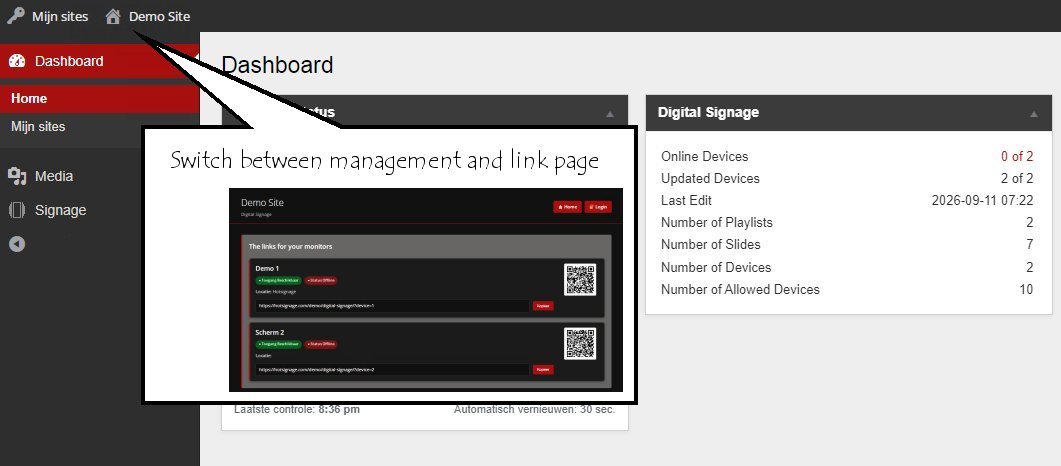
Clicking the Home icon at the top of the page will take you directly to the page containing the links to your devices.
From this page, you can also return to your Dashboard at any time by clicking Login.
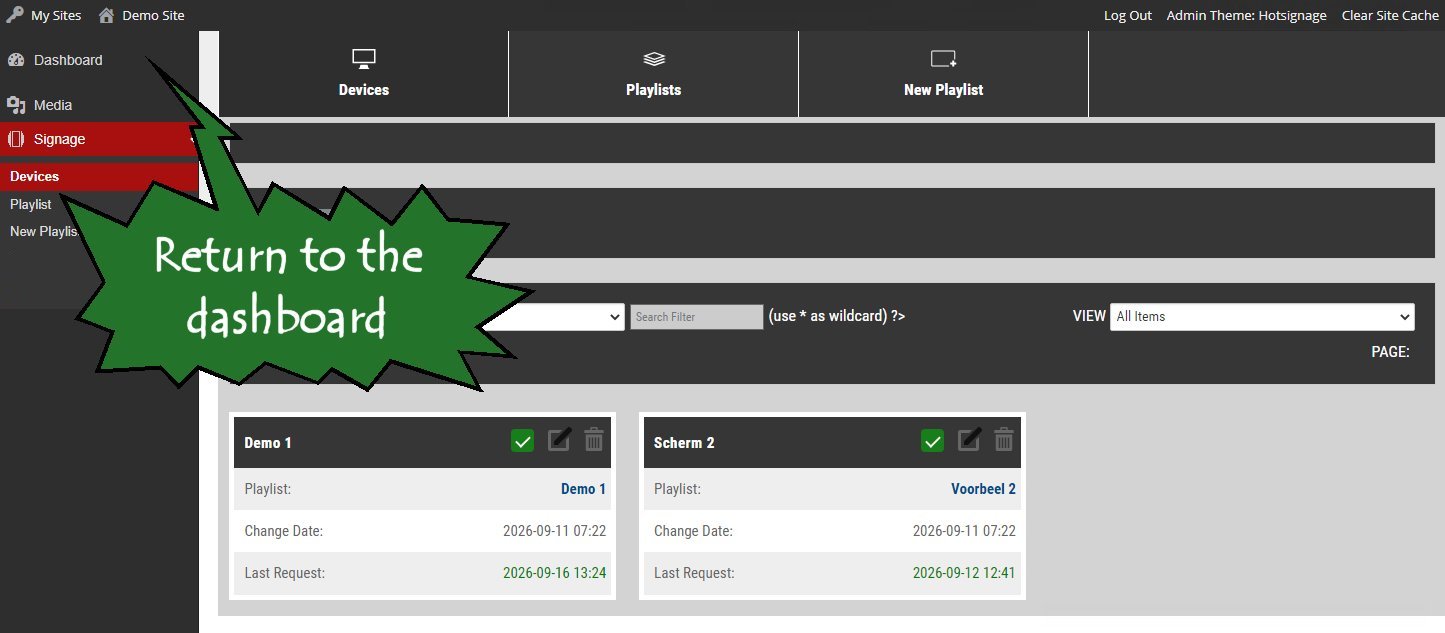
Returning to the Dashboard
You can also easily return to your Dashboard from the signage settings. This page also gives you an overview of the current status of your channels.
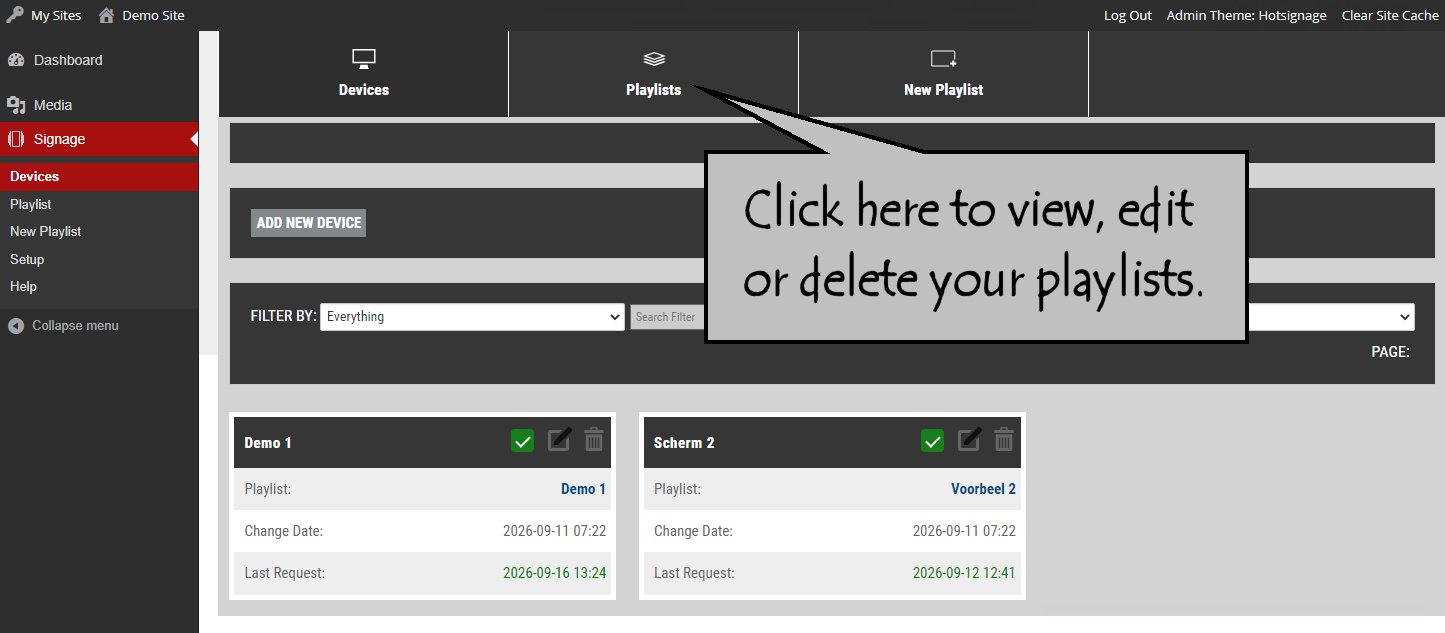
Managing Playlists
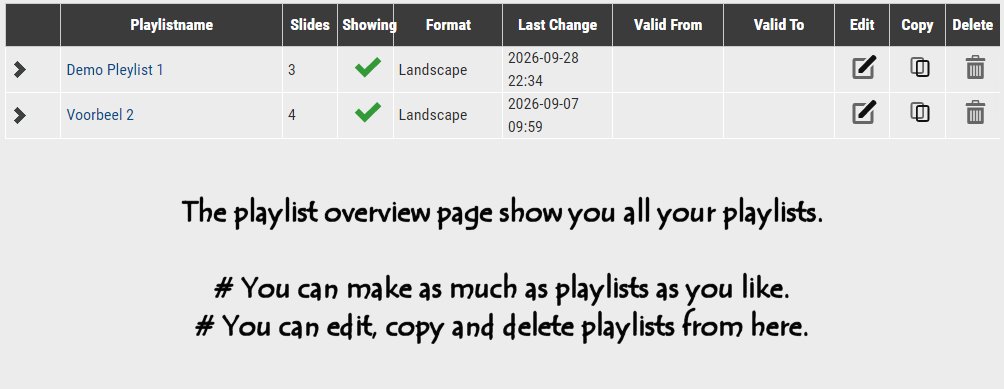
Every playlist you create is saved and displayed in a clear overview table. From here, you can easily find and manage your playlists, including editing, copying, or deleting them.
Playlist Overview
As shown in this example, each playlist displays various details and settings that apply to that specific playlist.
This provides a clear overview of all available playlists and makes it easy to see which playlists can be assigned to your devices (displays).